COVID-19 Pandemic Software Modifications in Tensor.NET
Post-Coronavirus access control solutions for businesses

In order to assist organisations in the management of their workforce during the current coronavirus outbreak and prevent the spread of COVID-19 in the workplace, several specifically developed new software features have been added to Tensor.NET.

PANDEMIC SOFTWARE MODIFICATIONS – KEY FEATURES

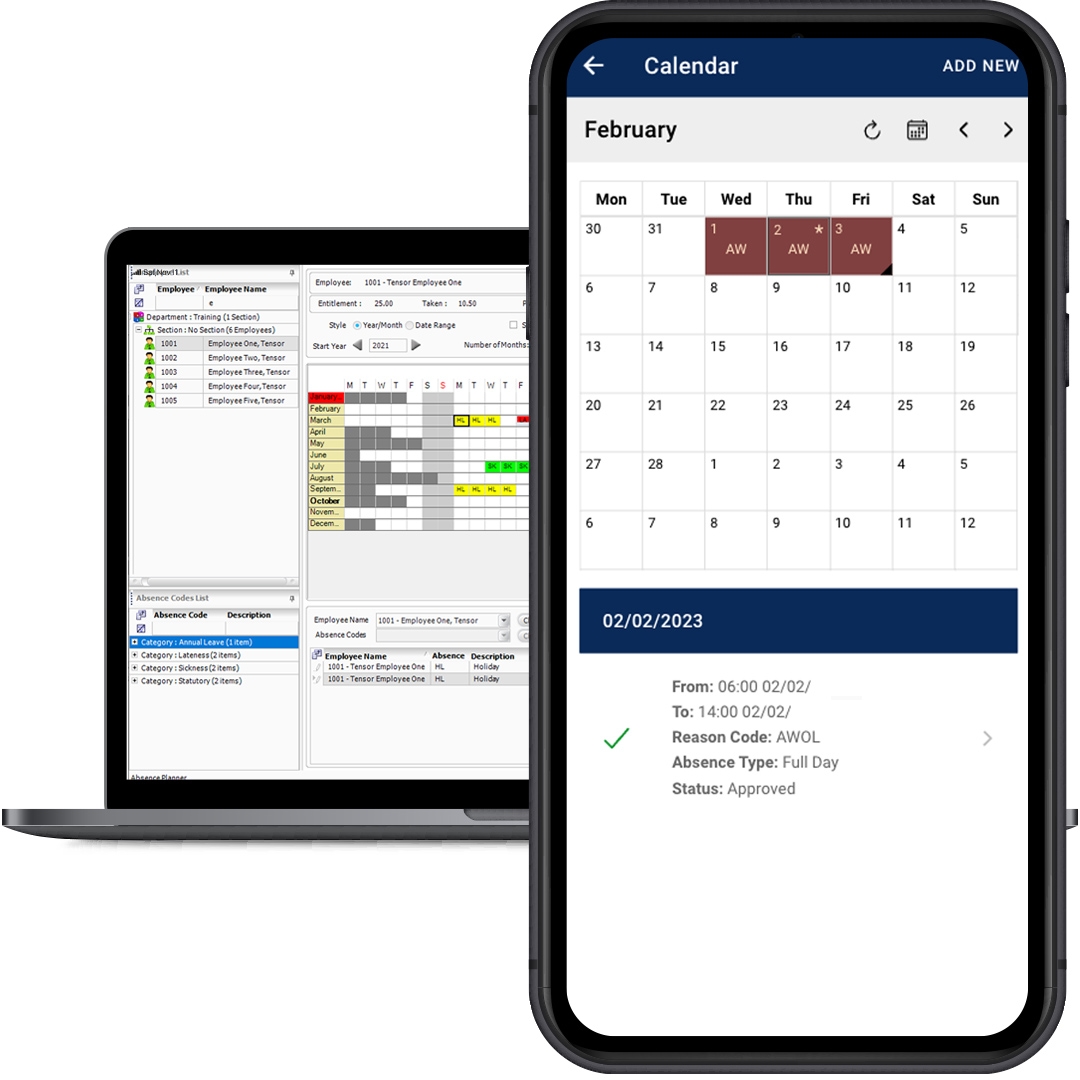
Staff members who are booked to specific absence codes (self-isolating/potentially infected) are prevented from accessing the organisation’s site

Staff members who have used the same clocking units as a potentially infected individual within a specific time interval can be immediately traced and notified

Staff members’ changing health status can be logged and saved as pandemic state records (self-isolating, tested/not-tested, in lockdown, etc.)

ToPersonnel booked on to specific absence codes are immediately denied access

A new feature has been added in Tensor.NET to deny employees access on-site when they are absent for an absence reason that locks access.

Click on Absence Planner > Absence Codes (3.8) or Attendance > Absence Codes (4.2) to display the standard summary list view of absence reasons. Click on an existing entry or New to open the edit dialogue.

Navigate to the General option to display the screen segment shown below:

covid-19 software

Tick this setting for absence that will deny access.

Tick the new 'Lock Employee on Use' setting, indicated above. When any employee is booked absent for this reason on the current day, their access is immediately denied. Employees will be denied access until their employee record is manually unlocked via Employees > Access Settings.

Recording and reporting employees' changing health status (pandemic states)

The new Recording and Reporting of Employees’ Changing Health Status (Pandemic States) in Tensor.NET enable organizations to better manage their employees and workforce during the COVID-19 pandemic.

Recording employee pandemic states

In order to access the recording feature Log in to Tensor.NET as a user with Pandemics enabled in their role. Click on Employees in the Employees menu block to display the standard summary list view. Click on an existing employee entry or New to open the edit dialogue. Navigate to the new Pandemics option to display the screen shown below:

covid-19 software

Use the add, edit and delete action icons to create, amend or remove specific pandemic state entries. Clicking the add or edit icons will display a small pop up dialogue in which the following entries can be made.

PANDEMIC ENTRIES EXPLAINED

Pandemic

This setting defaults to COVID-19, although further viruses can be entered by clicking the add icon

State

Use the drop-down list to select a particular state, five default options are provided but more can be added via the add icon

State Date

Select a date to record against this entry

Fields

Highlight each table in the left-hand pane in turn. Tick the settings in the right-hand pane that are to be included in the report

The remaining pages

Use the remaining report wizard pages in the standard manner when designing any report

Click OK to save the entry. By default, pandemic entries are listed in descending date order. The field chooser for the employee list view contains three new column options; pandemic name, state and state date. Tick these options to display the most recent pandemic state of employees.

Reporting employee pandemic states

The new pandemic information recorded in Tensor.NET for employees can be included in employee report types using the standard Reports > Custom Reports facility. To report upon employee pandemic states, the following design wizard entries are required:

WIZARD PAGE

SELECTIONS & COMMENTS

Report Type

Depending on which serials are registered, select either T&A, HR or Access Control for the category and employees for the base type

Tables

Highlight the Employee Main Details table in the right-hand pane and locate the Employee Pandemic and Employee Pandemic Latest State tables in the left-hand pane. Highlight one of these and click the '+' button to move it to the right. Highlight the first to show all pandemic entries and the latter to show just the most recent state

Table Joins

To show only employees with pandemic entries, change the 'Join' setting from 'All Rows' to 'Matching Rows Only'

Fields

Highlight each table in the left-hand pane in turn. Tick the settings in the right-hand pane that are to be included in the report

The remaining pages

Use the remaining report wizard pages in the standard manner when designing any report

An employee pandemic report is launched in the normal manner by double-clicking its entry from the custom reports list view. The Report Selection Criteria screen is displayed. One selection is required:

  • Employees – use the standard employee filter and selection pane to choose which employees are to be reported upon. Employees may be selected individually or by grouping

A partial example of a report format is shown below. Note, many other alternative formats of this information are also available.

covid-19 software

Track and trace reporting

The Track and Trace reporting available in version 4.4.0.24 and above of Tensor.NET provides organisations with the ability to report upon the employees a selected, potentially Covid infected person may have come into contact with while clocking or gaining access.

In order to access this feature, you will need to click on Reports and then the Track and Trace option to display the screen partially shown below. This part of the screen is where various filters can be applied to limit the displayed tracking information.

covid-19 software

These filter and selection controls are provided, as indicated above.

  • Reporting Range – enter from and to dates to define the period to be reported upon. Next click on the Search button to load transactions for the selected period. A count of the number of transactions found is displayed
  • Employee Selection – an individual must now be selected from the employee drop-down list. This is the person whose contacts will be traced. Enter all or part of their name or employee code into the filter box the limit the employee list to matched entries. Note the employee list is only populated by those employees contained within the retrieved transactions of the selected report period
  • Event Types – this drop-down lists all the different event types found within the selected period. Unticking an event will exclude it from the matching exercise
  • Device – this drop-down lists all the different scanning devices used within the selected period. Unticking a device will exclude it from the matching exercise
  • Time Restrictions – by default a one hour time restriction is applied (both before and after) when matching transactions. First, the system determines when the selected person has clocked or gained access. Then a search is made for all the employees scanning within a window beginning one hour before and ending one hour after, the selected person’s scanning. Alter the Before Use and After Use times to extend or reduce this window

Click the Show Results button when all entries have been completed. The lower section of the Track and Trace screen is populated with results. Separate tabs provide Summary and Detail views of matching information.

covid-19 software

In the example above it can be seen that the selected person encountered 7 different employees when they were clocking or gaining access within the default two-hour window. The times of their first and last meetings are shown in their respective columns.

For the six employees who only met the selected person once, the first and last times are obviously the same. The single employee who met the selected person twice has the time of their last encounter shown in the last meeting column. The Device Count column shows how many separate devices were involved in the employee meetings, in the example just one. The Meeting Count column gives the total number of encounters per employee.

The detailed breakdown of this summary is available on the Detail tab.

covid-19 software

The detail screen lists all the encounters between the selected person and other employees. The Device column details the scanning equipment where employee encounters took place. The original time is when the selected person scanned the device.

The matched time is when the employee scanned at the same device. The Separation column shows the difference, in time, between these two scans. A negative difference is where the employee scanned before the selected person. A positive difference is where the employee scanned after the selected person. By default, the detail display is ordered by ascending separation difference.

The likelihood of employees being in close physical proximity with the selected, potentially infected person, increases the smaller the separation time is.

You can click on the Print Summary or Print Detail buttons to generate either a hardcopy report or excel spreadsheet of the respective information.

Pre-requisites

The features allowing personnel booked on to specific absence codes to be immediately denied access and to record and report on an employee’s changing health status are available when this system component is installed:

  • Versions 3.8.0.94 (and above in the 3.8.0.x series) or 4.2.0.57 (and above in the 4.2.0.x series) for any edition of Tensor.NET, activated for either T&A, Access Control or HR.

Track and Trace Reporting is available when this system component is installed:

  • Version 4.4.0.24 (and above in the 4.4.0.x series) for any edition of Tensor.NET, activated for either T&A, Access Control or HR.

System security considerations

Both versions 3.8.0.94, 4.2.0.57 and 4.4.0.24 include a change to the permissions available in Tensor.NET.

Users must be granted these new permissions, via their role, before they can access the new pandemic recording functions. In order to achieve this, users need to click on the Configuration > Role Management menu option on the main Tensor.NET explorer bar to open the list of user roles and change the security permissions accordingly.

Cant find what you're looking for?

Enter a search term below (e.g. "Time and Attendance") and we'll find all of our relevant content for you.

Tensor plc accreditations

Keep up to date with our latest news & developments.

Be the first to get product and software updates and other important information.